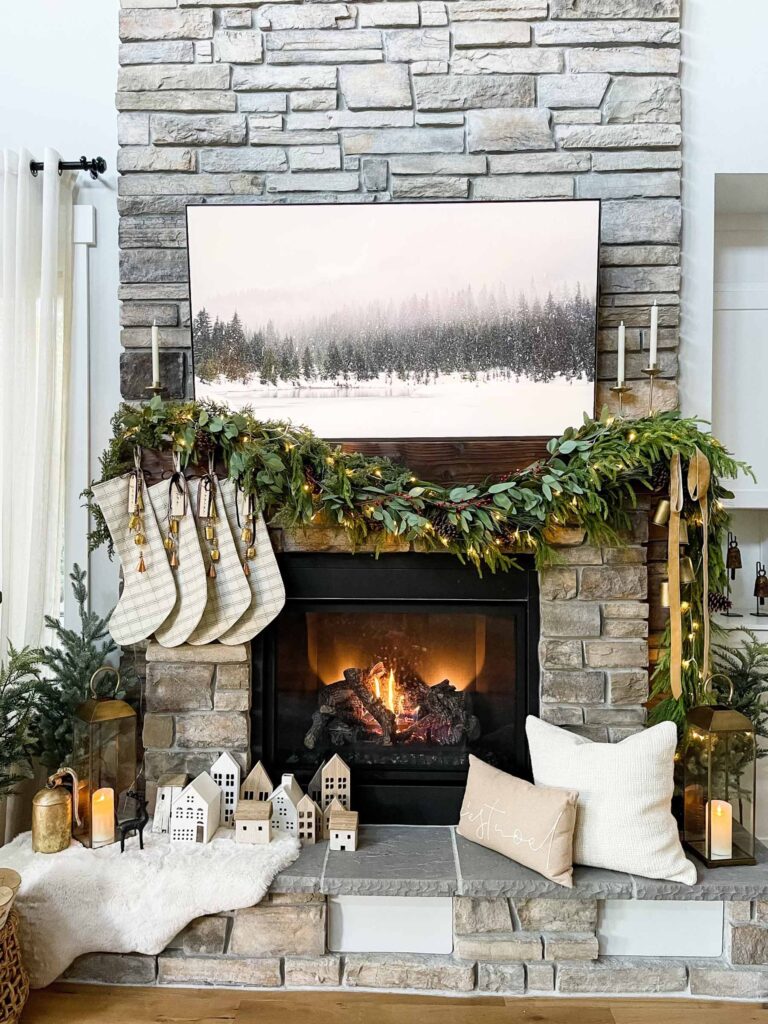
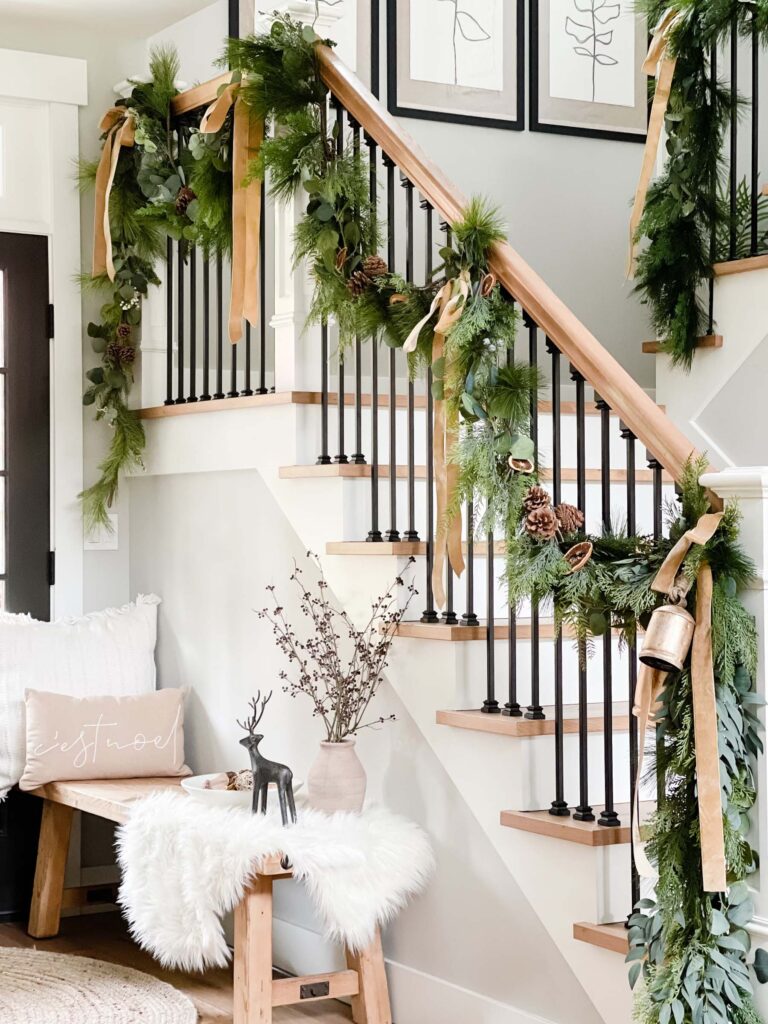
Every holiday season, the garland is the first thing that goes up! It starts on the mantel and then makes its way to the banister and then everywhere else. I never know what I am going to do, or how it’s going to go down, but I start by taking everything out of the bins to remind myself what I have, and what I plan on donating (if I’m not loving it). The garland has accumulated over the years since realizing I prefer a full, luscious look that has more texture and dimension as seen below.

To get the look above, I intertwined three garland types (Norfolk (x4), eucalyptus (x2), and 1 berry), before hanging (I use nails). My favorite garland (the Norfolk) sells out quickly (Every. Single. Year), so I always share it early and suggest grabbing it as soon as it comes back in stock. Once I have the garland up, I then layer in pieces such as pinecones, berries, an/or dried oranges (tutorial found here). Lastly, I’ll add lights, ribbon, and bells to finish the look!

For our stairs (seen above), I used two different garlands (both from Target x Studio McGee and sold out). One was a juniper berry garland (x5), and the other was a eucalyptus/cedar garland (x3). I also layered in a few pinecone and some dried citrus, then topped it off with this beautiful gold velvet ribbon and my favorite vintage bells. To secure the garland to the banister, I use faux pine twist ties (you can used zip ties as well!)
Enjoy recreating these looks for the holidays!
xxj
Click here to find a curated list of holiday items seen in our home.
